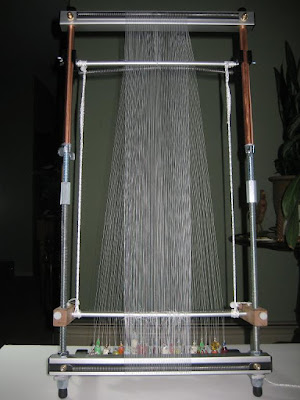
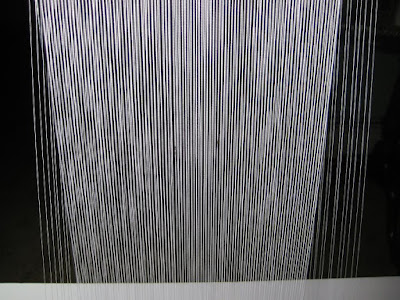
My Mirrix is strung with 93 warps. I included the extensions, longer foot pediments and warp weights.

My design is 92 beads wide. Therefore, your loom is strung one warp more then the number of beads in a row, 93 warps. The center 17 warps are going to handle 16 beads of stable looming. I will explain further as I go along, then it will all make sense.

Notice the black marks on the two warps, in the picture above. This is the outside of my 16 beads. For now, I am only going to loom the widest portion of my piece, a split loomed necklace.
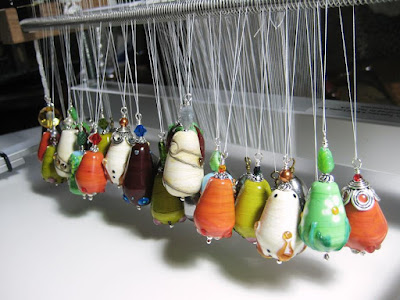
My design idea includes some 'cut work' into my looming and 'wavy edging'. Therefore, I need to include 'warp weights'. The warps are secure at the base of this loom, but are brought over top and a 'warp weight' is attached to every two warps. The Mirrix is so great, because I was able to 'increase the height' to handle my pattern, and the warp weights are secured in between the additional springs that come with the Mirrix.
These warp weights were custom made, especially for this method of looming.

Many designs were discussed, but this is the best design to handle some very creative ways to loom. These warp weights, along with a tutorial to create 'cut work' and 'wavy edges', can be ordered from Venessa Hearn at Bead Up A Storm
I hope you will stay with us for me to share how the Mirrix, and these warp weights, can create some of the most intricate looming! For now, I'll be adding my longest row of beads, to start!

No comments:
Post a Comment